Come one, come all: DIY Halloween costumes are waiting for you
From BatCat to Harry Pup-ter, theres something for pets of all sizes in these easy costumes.
Usually we ask you to send us your pictures of pets in costume, and last year created some two-ingredient animal-themed costumes for people in the veterinary profession. But this year we're going a step further. Want to make costumes for your furry friends-or patients? I've got just the tutorials you need. I pulled together six easy-to-make costumes for pets and included step-by-step instructions.
At our local craft store, with coupons, I got supplies for all six costumes for less than $25. Each costume took me less than 30 minutes to make, depending on how much I fiddled with details. Everything is glued together with hot glue, because who wants to wait for regular glue to dry? Nobody's got time for that!
(P.S. We still want your photos of pets and veterinary teams in your Halloween best. Send them to firstline@ubm.com for a chance to be featured on dvm360.com.)
Let's get started! We'll start with the simplest and work our way up to the more challenging.
Party Animal
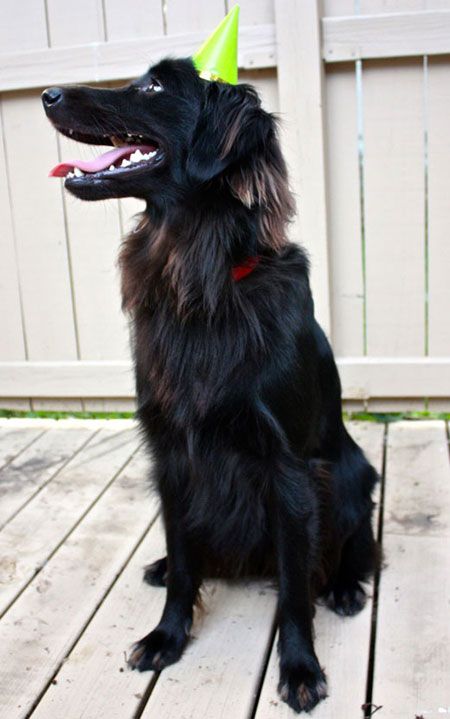
Agnes is ready to party! | Photo courtesy of Sarah Dowdy
What you need:
1 party hat
Directions:
Place party hat on your pet's head and ta-da! You've got a 10-second party animal costume.
Beanie Baby
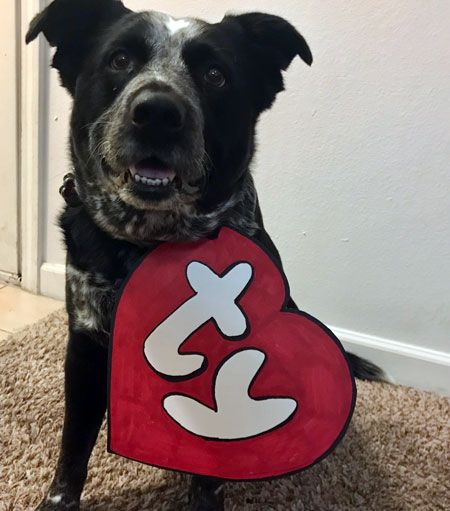
Blitz is the cutest Beanie Baby we've ever seen.
What you need:
1 white posterboard
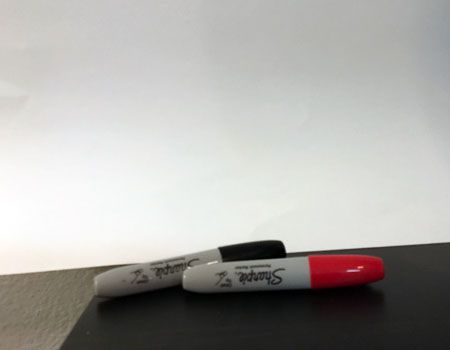
1 red marker
1 black marker
1 hair tie, twist tie or ribbon
Directions:
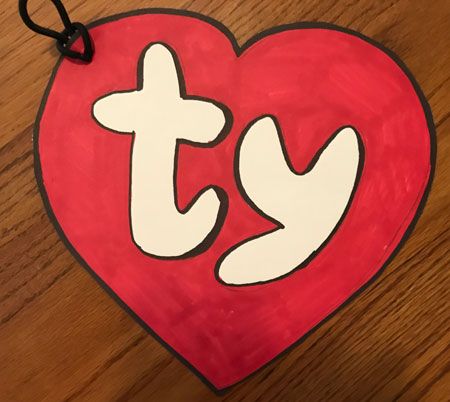
Draw a heart outline onto your poster board, then draw the “TY” logo. I Googled the logo and freehanded it, but you could also print out a picture and trace it if you wanted it to be exact. Outline the heart and the TY with black and fill in the heart with red.
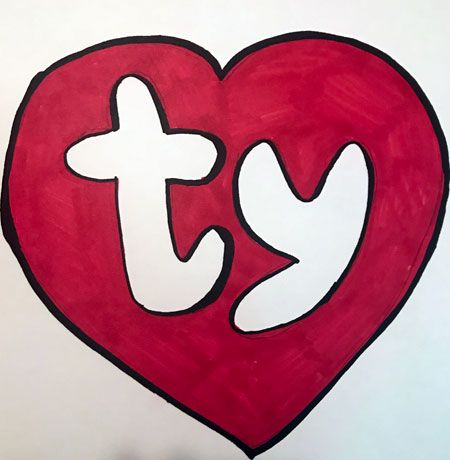
Cut out the heart. To attach, poke a hole in the top left corner near the T. Use a ribbon twist tie or one of the hundreds of hair ties you've got lying around to slip it onto your pet's collar like I did.
Thing 1 and Thing 2
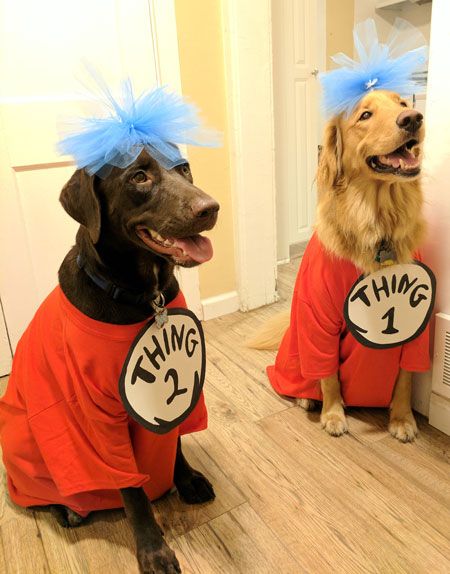
Atticus and Ripley make a sweet pair of Things 1 and 2 from "The Cat in the Hat" by Dr. Seuss. It's a perfect costume for a multipet family. | Photo courtesy of Gabrielle Roman
What you need:
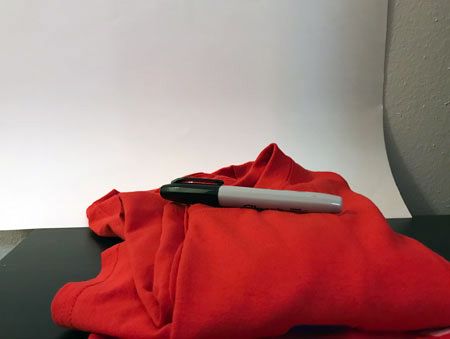
2 red T-shirts
1 posterboard
1 black marker
Small amount of blue tulle
Tape
Stretchy headbands
Directions:
Trace the Thing 1 and Thing 2 logo onto your poster board and outline with the black marker. Again, I looked up a source image and drew it freehand, but you could trace it by printing out the images too. This would probably save you some time.
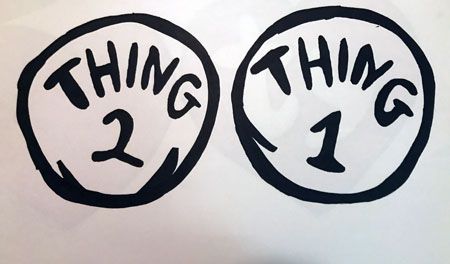
Place the T-shirt onto your dog and tape the logo to the front of the shirt. We used tape, rather than gluing or velcroing the logo permanently to the shirt, because we wanted it to be adjustable and hit the right spot on the dog's chest.
Editor's note: After looking at the T-shirts, I felt like the pups needed something blue to accurately recreate the characters. I made a small pompom out of tulle. I (very, very gently) used Scotch tape to balance the pompoms on the models for the picture. If your pet is going to wear this outfit for an extended period of time, (like while you're answering the door to trick-or-treaters on Halloween) I'd recommend attaching the pompom to a soft, stretchy headband.
Bat-Cat
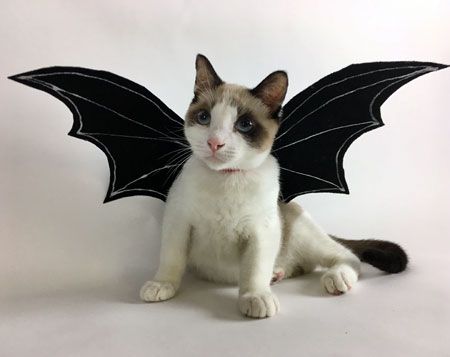
Oscar is poised to take flight. | Photo courtesy of Portia Stewart
What you need:
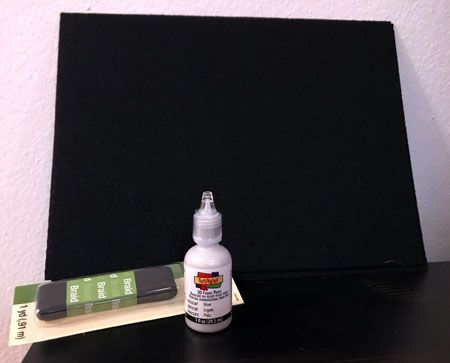
2 sheets black felt (I used the reinforced kind that stands up on its own. It's usually found next to the regular felt.)
Silver fabric paint
Elastic
Directions:
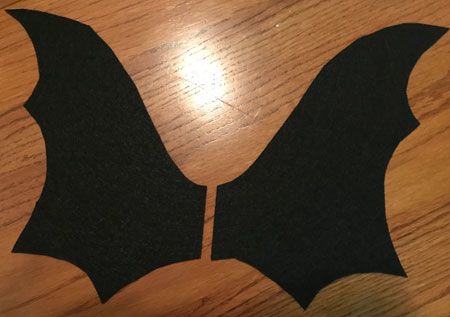
Cut wing shapes out of the black felt. I sketched out a bat wing shape on printer paper before cutting the felt, just in case I made a mistake.
Outline the wings with the silver paint and let dry. I did this on both sides.
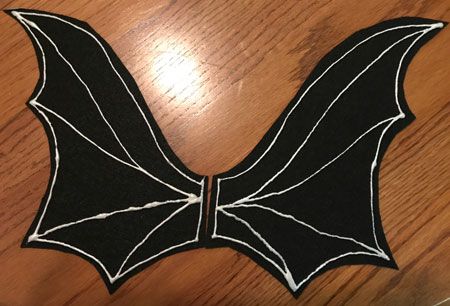
Cut small rectangles out of the leftover black felt to anchor the wings in the center and glue down with hot glue. Paint the rectangle with the silver paint if you'd like.

There are two methods you can use to attach the wings to your pet. The first is to cut a length of elastic that will fit around the pet's middle. Glue the ends of the elastic together to form a circle. Then glue the elastic to the wings. The pet can wear the wings like a belt.
The second method: Cut two lengths of elastic and attach them to the wings. Then have the pet step in with one front leg in each elastic like a harness.
Pup-tini
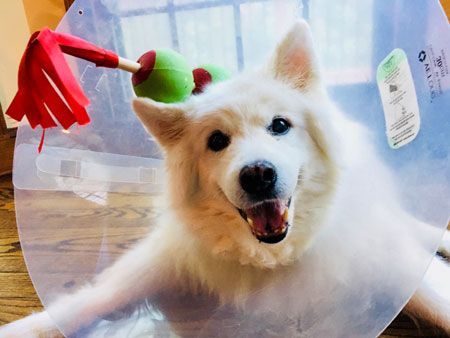
This cone hasn't gotten Sebastian down. | Photo courtesy of Portia Stewart
What you need:
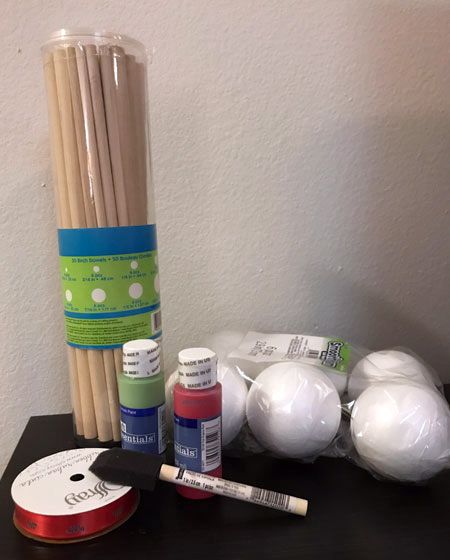
3 Styrofoam balls
1 dowel rod
1 container of red paint
1 container of green paint
1 red ribbon
1 clear e-collar
Directions:
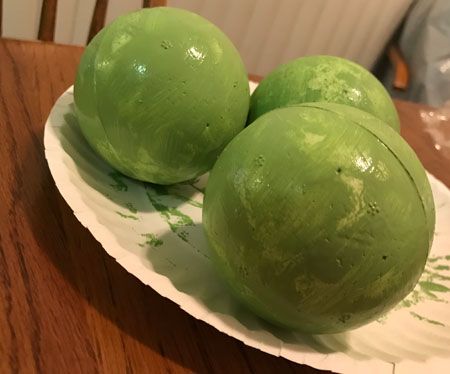
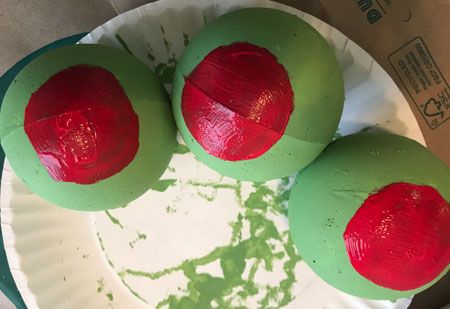
Paint your Styrofoam balls olive green and let dry. I used two coats to completely cover the white.
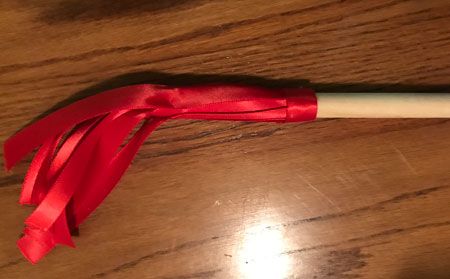
While those dry, ready your cocktail toothpick. To recreate the cellophane at the end of these toothpicks, I used red ribbon. I cut it into strips and hot glued them around the top of the dowel rod.
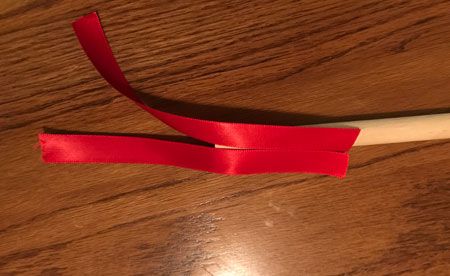
To cover the rough ends of the strips of ribbon, I cut another strip and wrapped it around the bottom and glued it in place.
Once the green paint is dry, paint red circles on the Styrofoam balls to represent the pimento inside the olives and let dry. I only did one coat of the red.
Now for the trickiest part. Create a hole through each olive to thread the dowel rod through. I used a Phillips head screwdriver to make a pilot hole and then gradually made the it a bit larger as I worked the ball onto the dowel. An easier approach would be to use an an electric drill.
I got solid, smooth Styrofoam, and it was a bit tough to get through because it was so dense. The green Styrofoam sold with artificial florist supplies would have been a better option, because it has air pockets and isn't quite so hard.
I secured the olives with a little hot glue to keep them from sliding off.
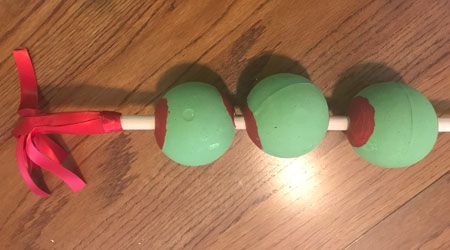
To complete the costume, carefully and gently balance the toothpick into your pet's cone. Supervise pets to make sure they don't jab themselves with it. This is best for pets on restricted activity or just for a photo op.
Harry Pupper
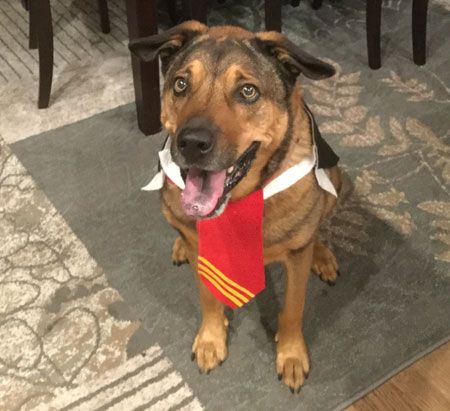
Alvin's ready for potions class. | Photo courtesy of Kristi Reimer Fender
What you need:
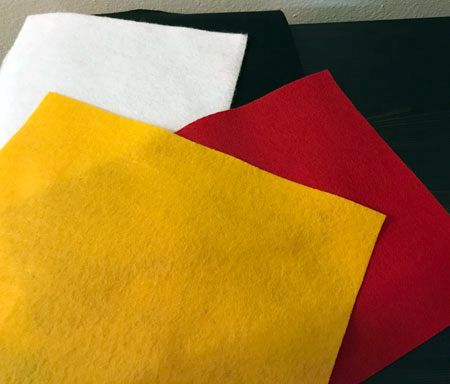
1 red or burgundy felt
1 gold felt
4* black felt
2* white felt
Velcro
*These measurements depend on the size of the pet you're outfitting. The black and white make the robe and shirt collar, so a smaller pet would need less. Our model is about 60 pounds, for reference.
Directions:
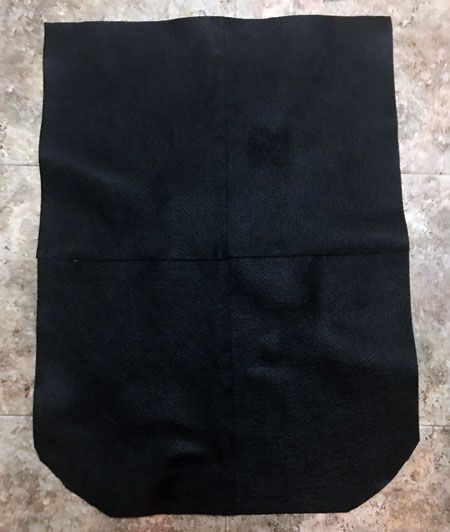
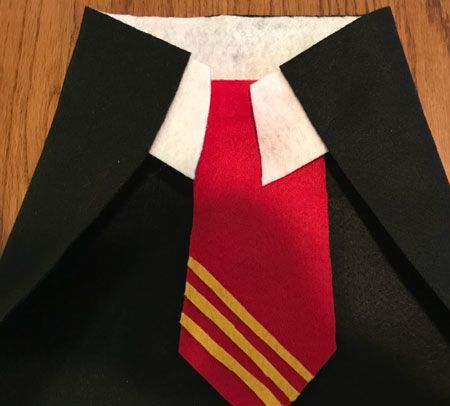
Glue the black felt together into a 2-by-2 rectangle and use scissors to round the bottom corners to make the school robe.
To make the tie, cut a tie shape out of the burgundy felt and glue gold stripes to the bottom.

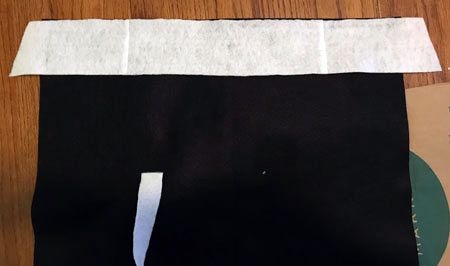
To make the shirt collar cut a long, narrow rectangle out of white felt and angle the ends so the wider portion is at the bottom. Glue it to the top of the school robe on the inside of the robe that would touch the pet. Make sure your collar is a bit longer than the robe itself. (I had to cut several rectangles and glue them together to make it long enough. Because this will be on the inside of the robe and not seen, the seams don't matter as much.)
To attach the tie and help it stay on the pet, fold the top of the tie down backwards and glue it to the body of the tie, so it makes a tube. Cut another strip of white and slide it through the tube.
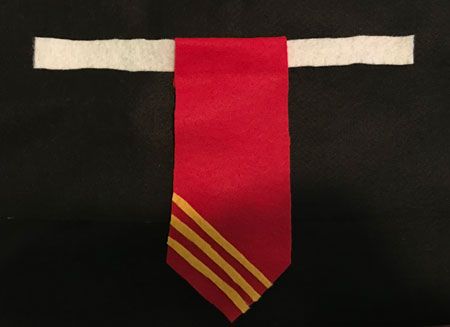
To attach it all together, place one half of the Velcro on the robe just where the shirt collar begins to point out from under the robe. Wrap the robe around your pet and place the tie in the gap between the two ends of the robe. Place the other half of the Velcro the tie to close the robe to ensure it's appropriately sized for your pet.
Veterinary Heroes: Patricia Kennedy Arrington, DVM, CVFP
December 1st 2024As a leader in 24-hour veterinary care and a champion for women in the field, Patricia Kennedy Arrington, DVM, CVFP, has dedicated her 50-year career to transforming veterinary medicine and inspiring future practitioners.
Read More
Veterinary Heroes: Ann E. Hohenhaus, DVM, DACVIM (Oncology, SAIM)
December 1st 2024A trailblazer in small animal internal medicine, Ann E. Hohenhaus, DVM, DACVIM (Oncology, SAIM), has spent decades advancing the profession through clinical expertise, mentorship, and impactful communication.
Read More